
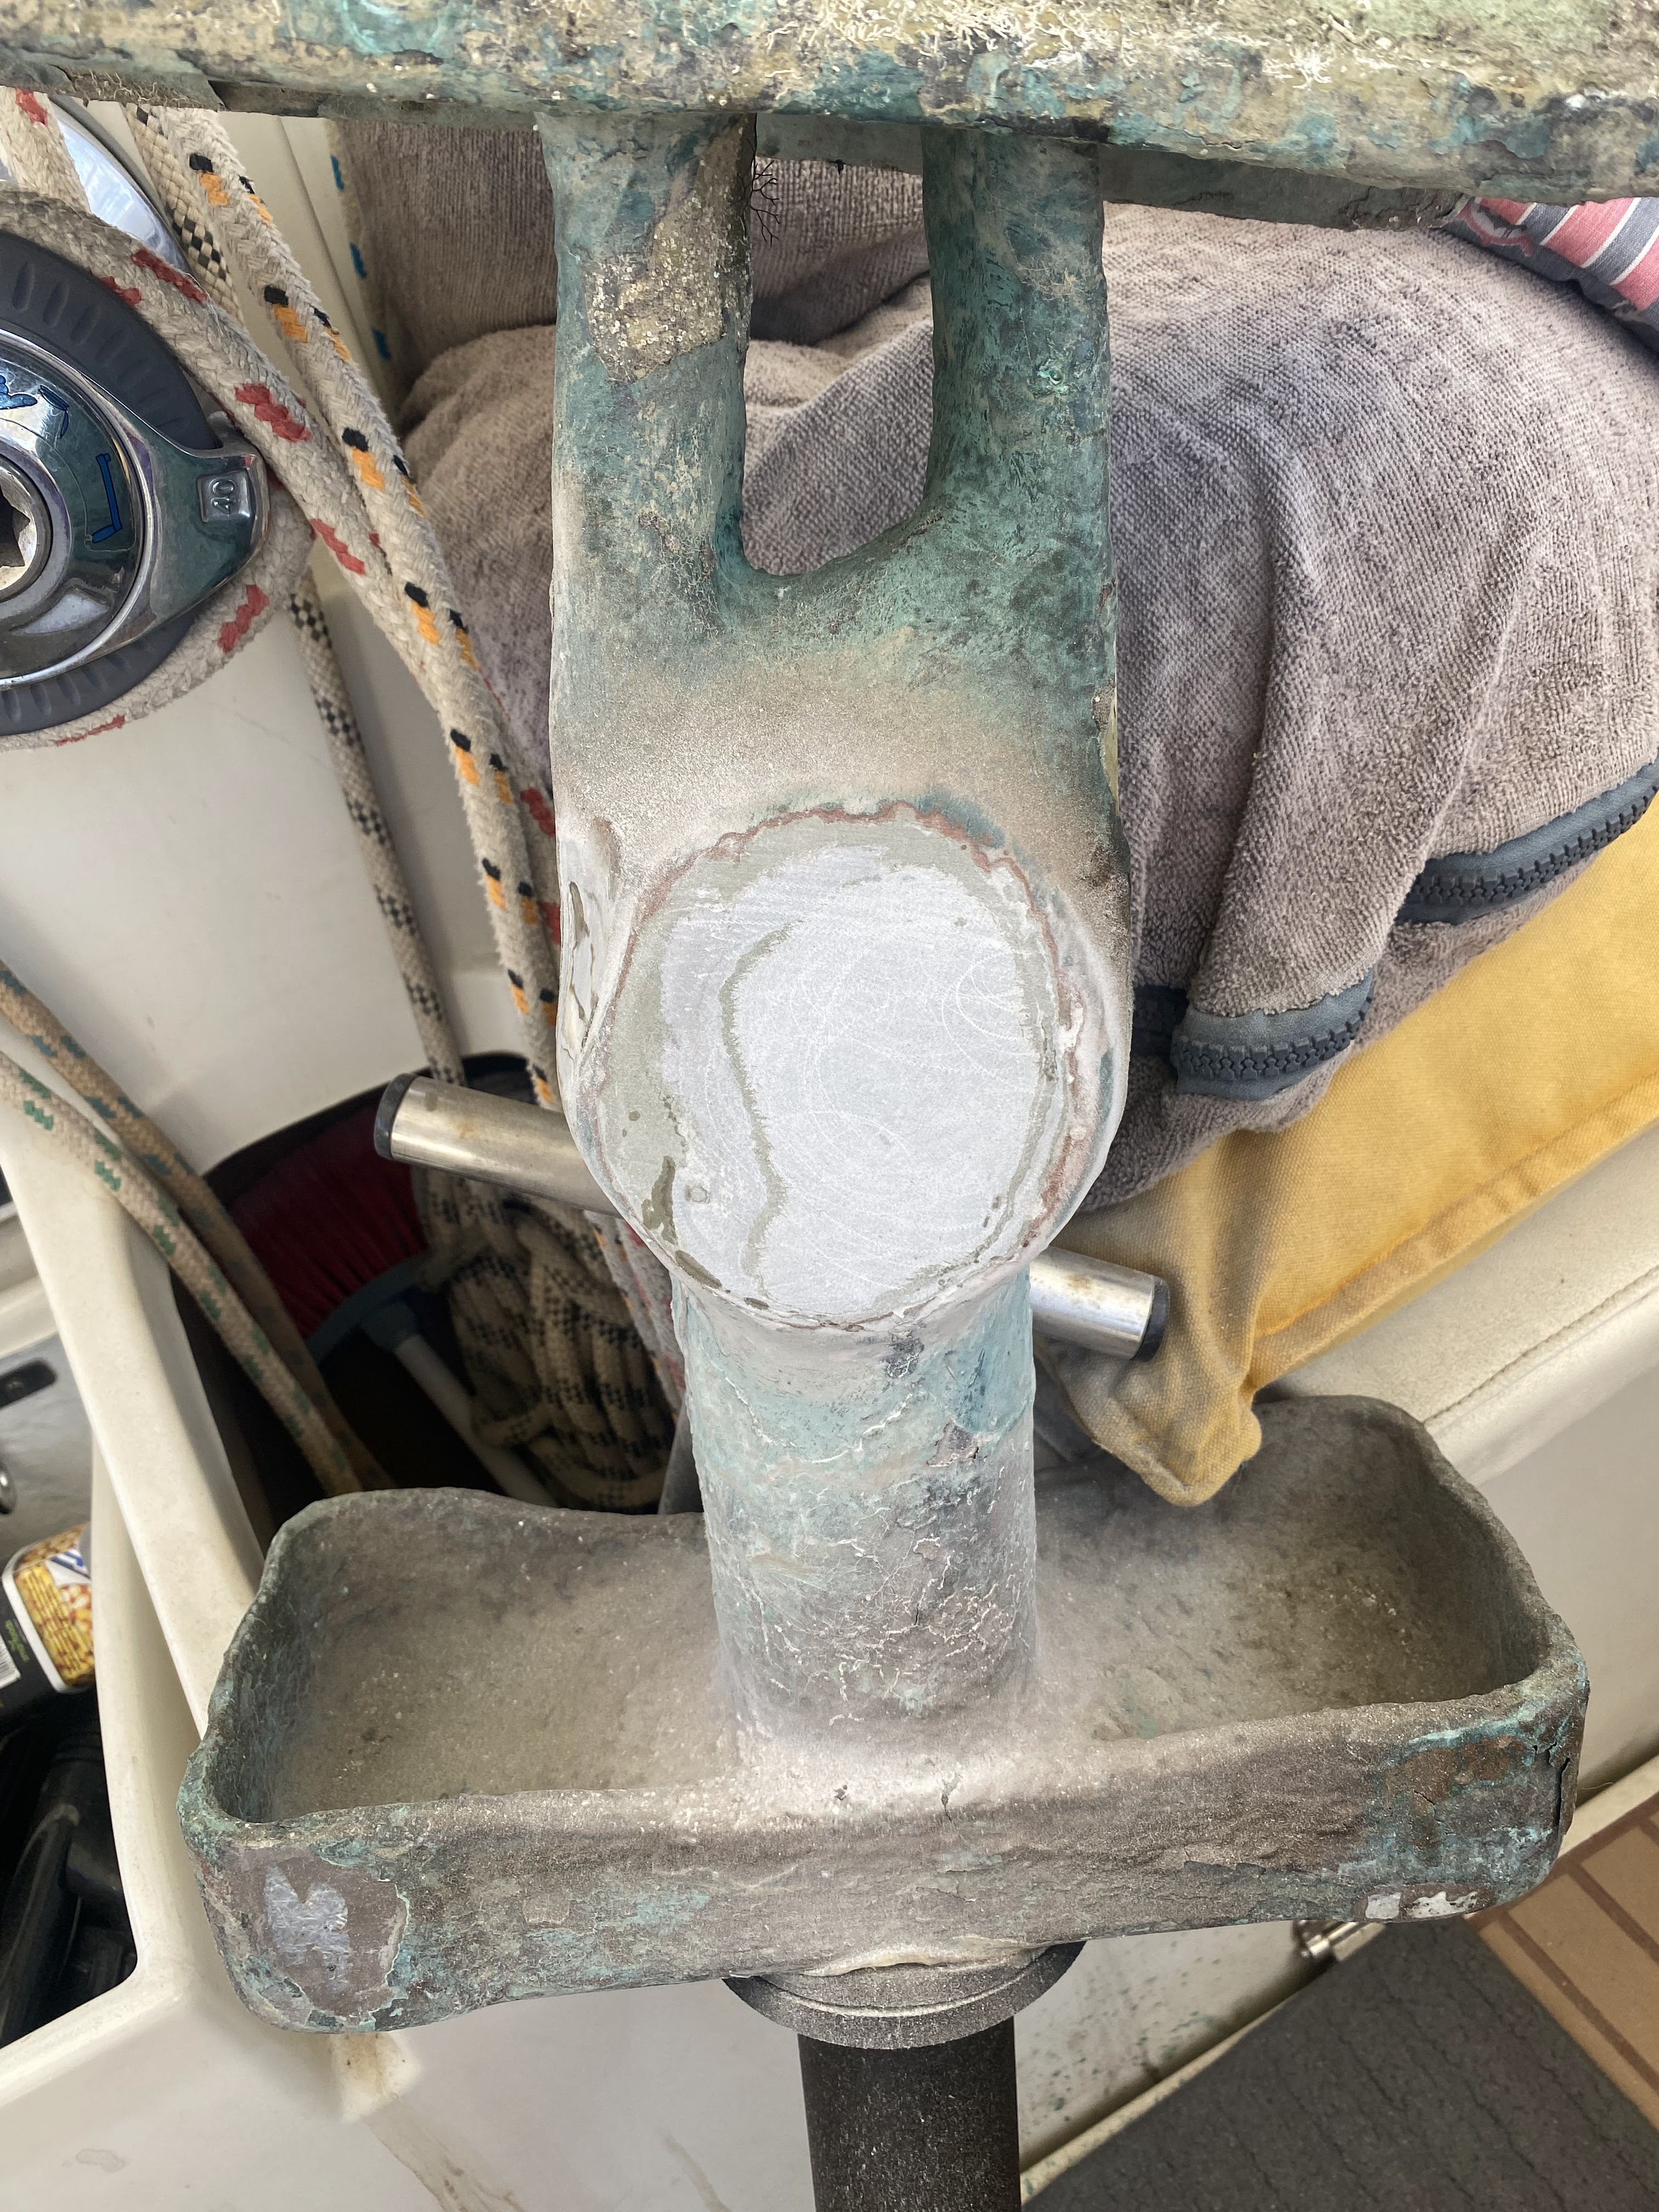
This is the bow-thruster after I removed the propeller. We broke the bow-thruster last year in Naxos by catching a line….the propeller would turn but would no longer move the boat. I tried changing the propeller (a small adventure in itself) but that did not fix the problem…..so something internal was broken. The gears inside are likely stripped and would need to be changed.
Luckily the previous owner had the 600 Euro service kit on board already (a hint he had had bow-thruster issues in the past) so I didn’t need to buy anything, I just needed to take it apart.
The Amel bow-thruster is made from epoxy/fiberglass for a boat-corrosion issue I won’t go into, and the entire back-plate of my bow-thruster had been encased in epoxy/fiberglass…..someone had rebuilt it in the past…..including covering the 4-screws that hold the plastic back-plate in place.
I had to find the 4 screws by removing epoxy….i.e. by digging into my beautiful bow-thruster….and sand off the epoxy off the back plate so it could be removed. Hence the surgery.
I started by grinding down the back:
I sanded the back with a small power-sander for some time……and didn’t see a back-plate. I tried sanding down where the screws should be……but I got nervous about removing so much material from the side. So, I got out a small chisel and started digging. This was the right thing to do……but on one side I removed too much material and made a big hole….but I was finally able to get the 4 holding screws out.
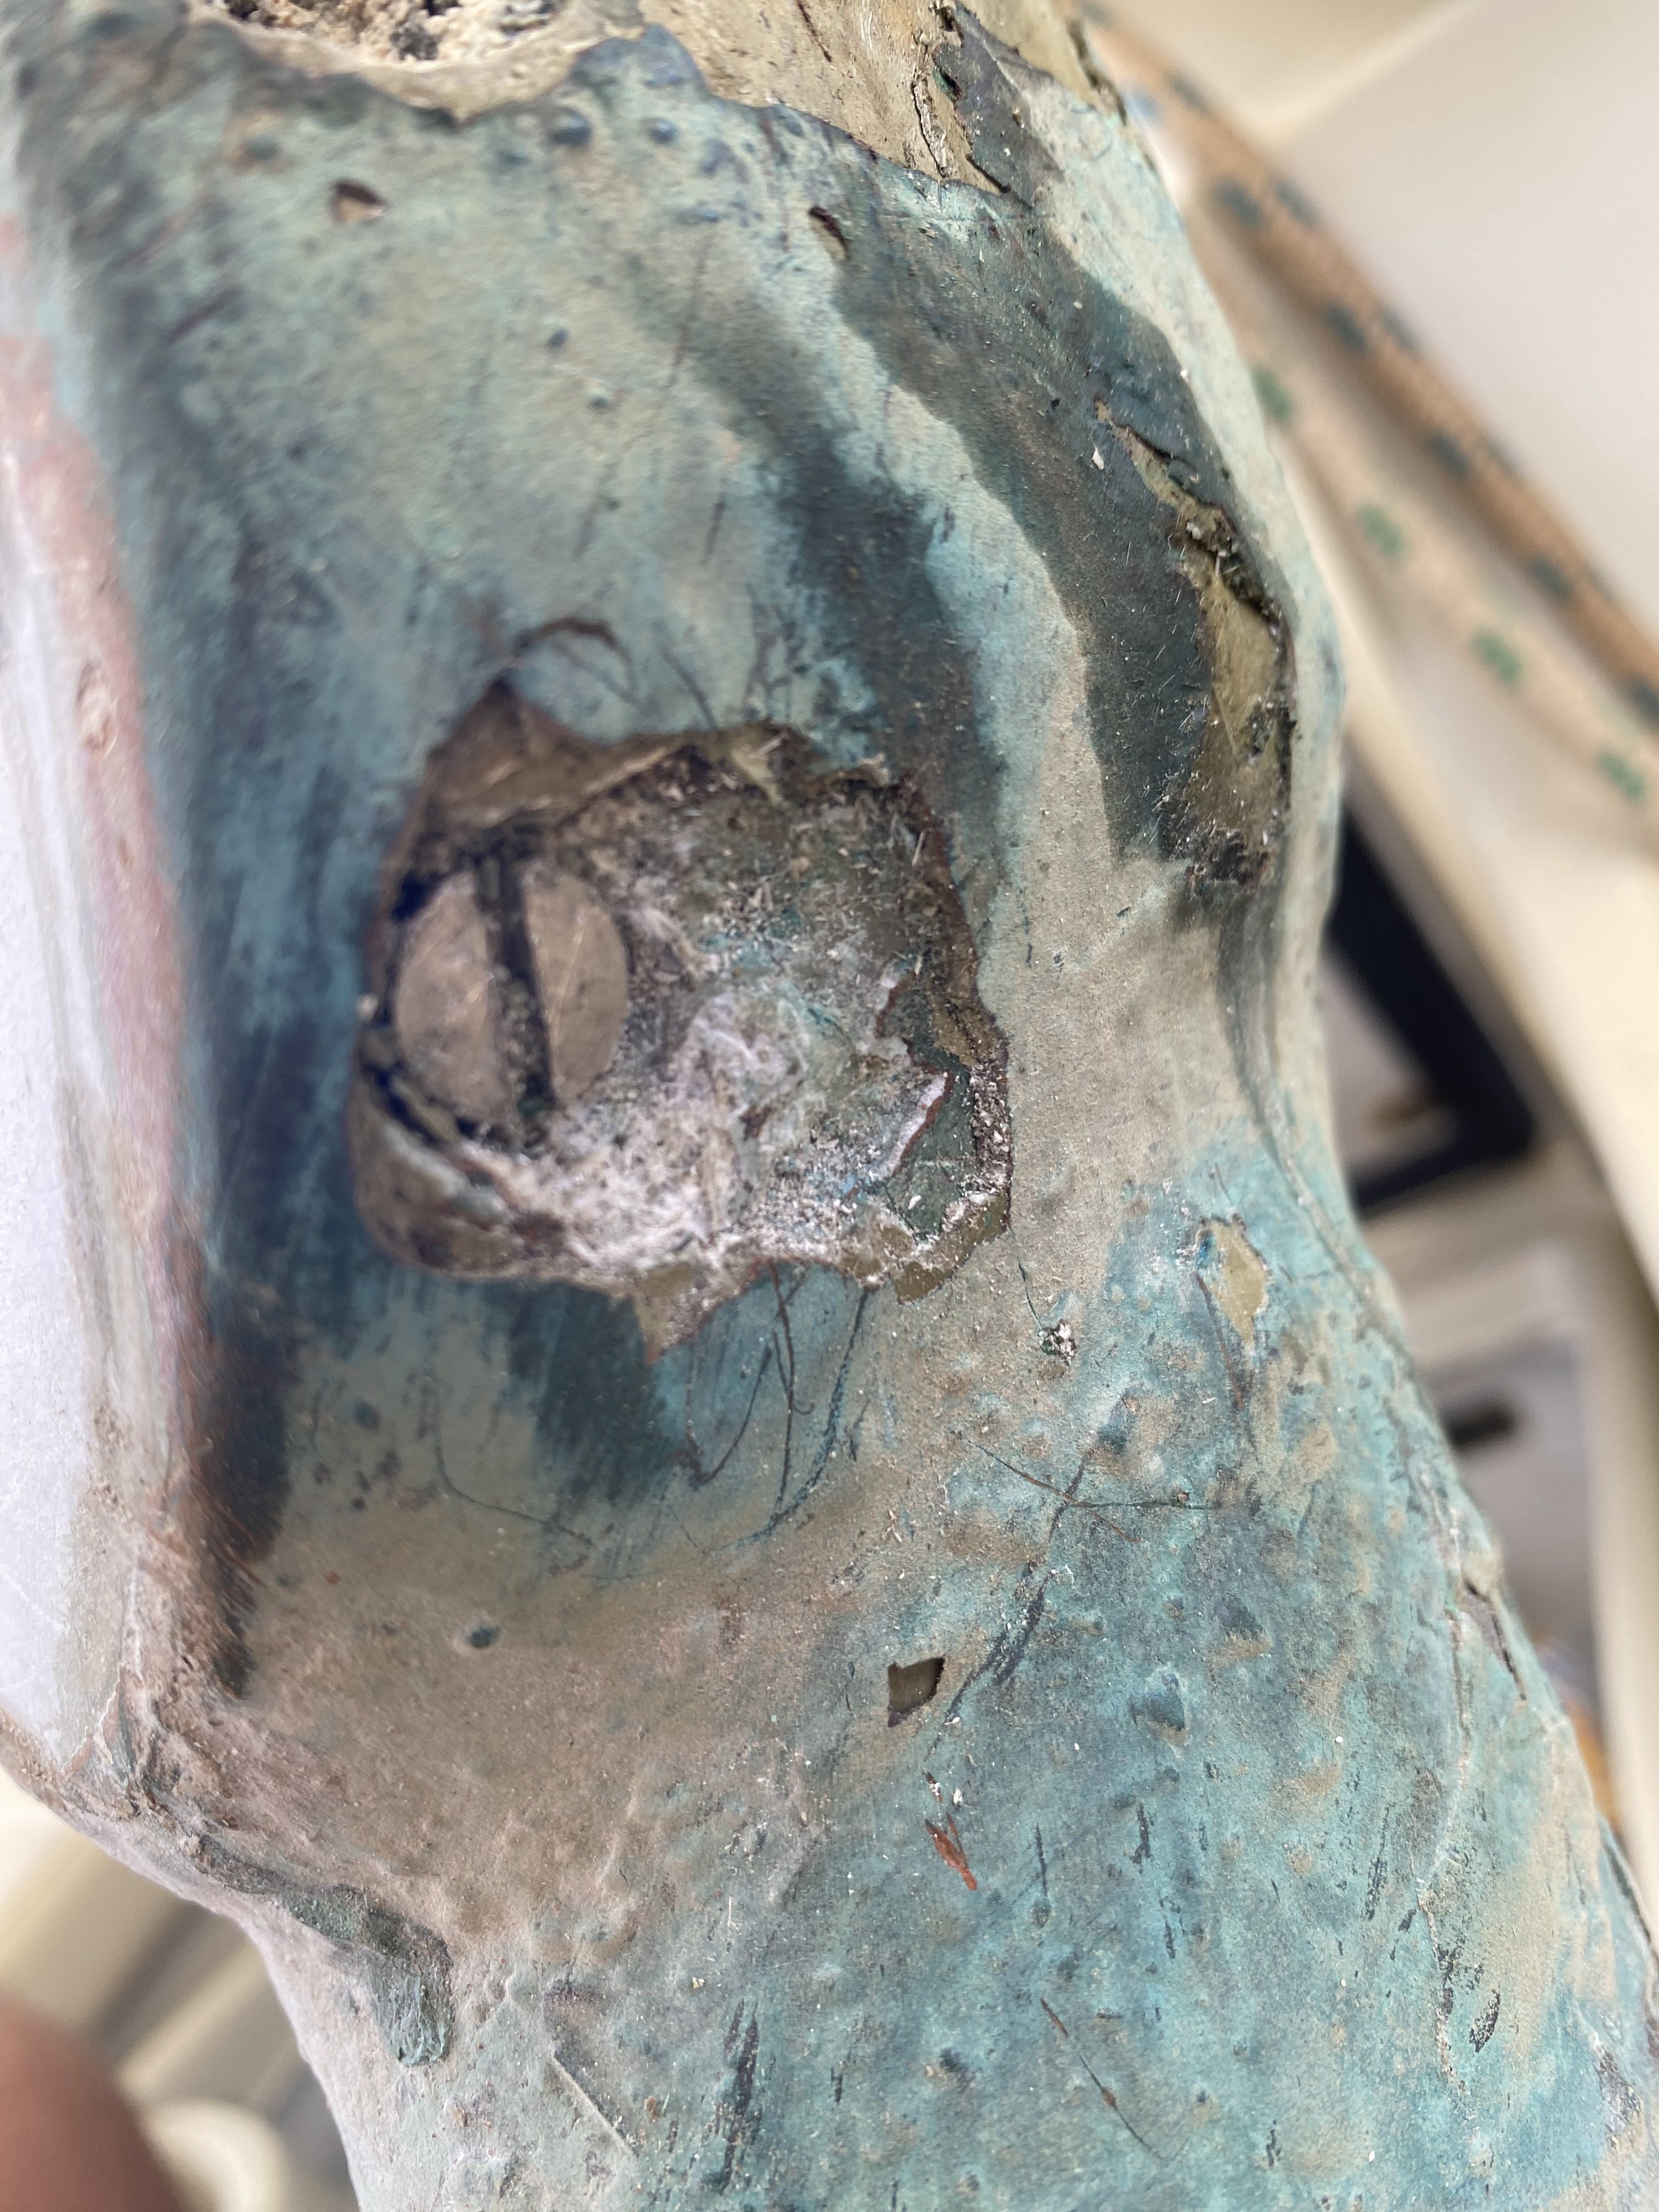
It really did feel like doing surgery. I was cutting into something with a general idea of what was there…..but I wasn’t sure until I hit metal. After I got the screws out I continued to chisel off the epoxy from the back which was much faster than sanding, and was then able to push our the internal gears.
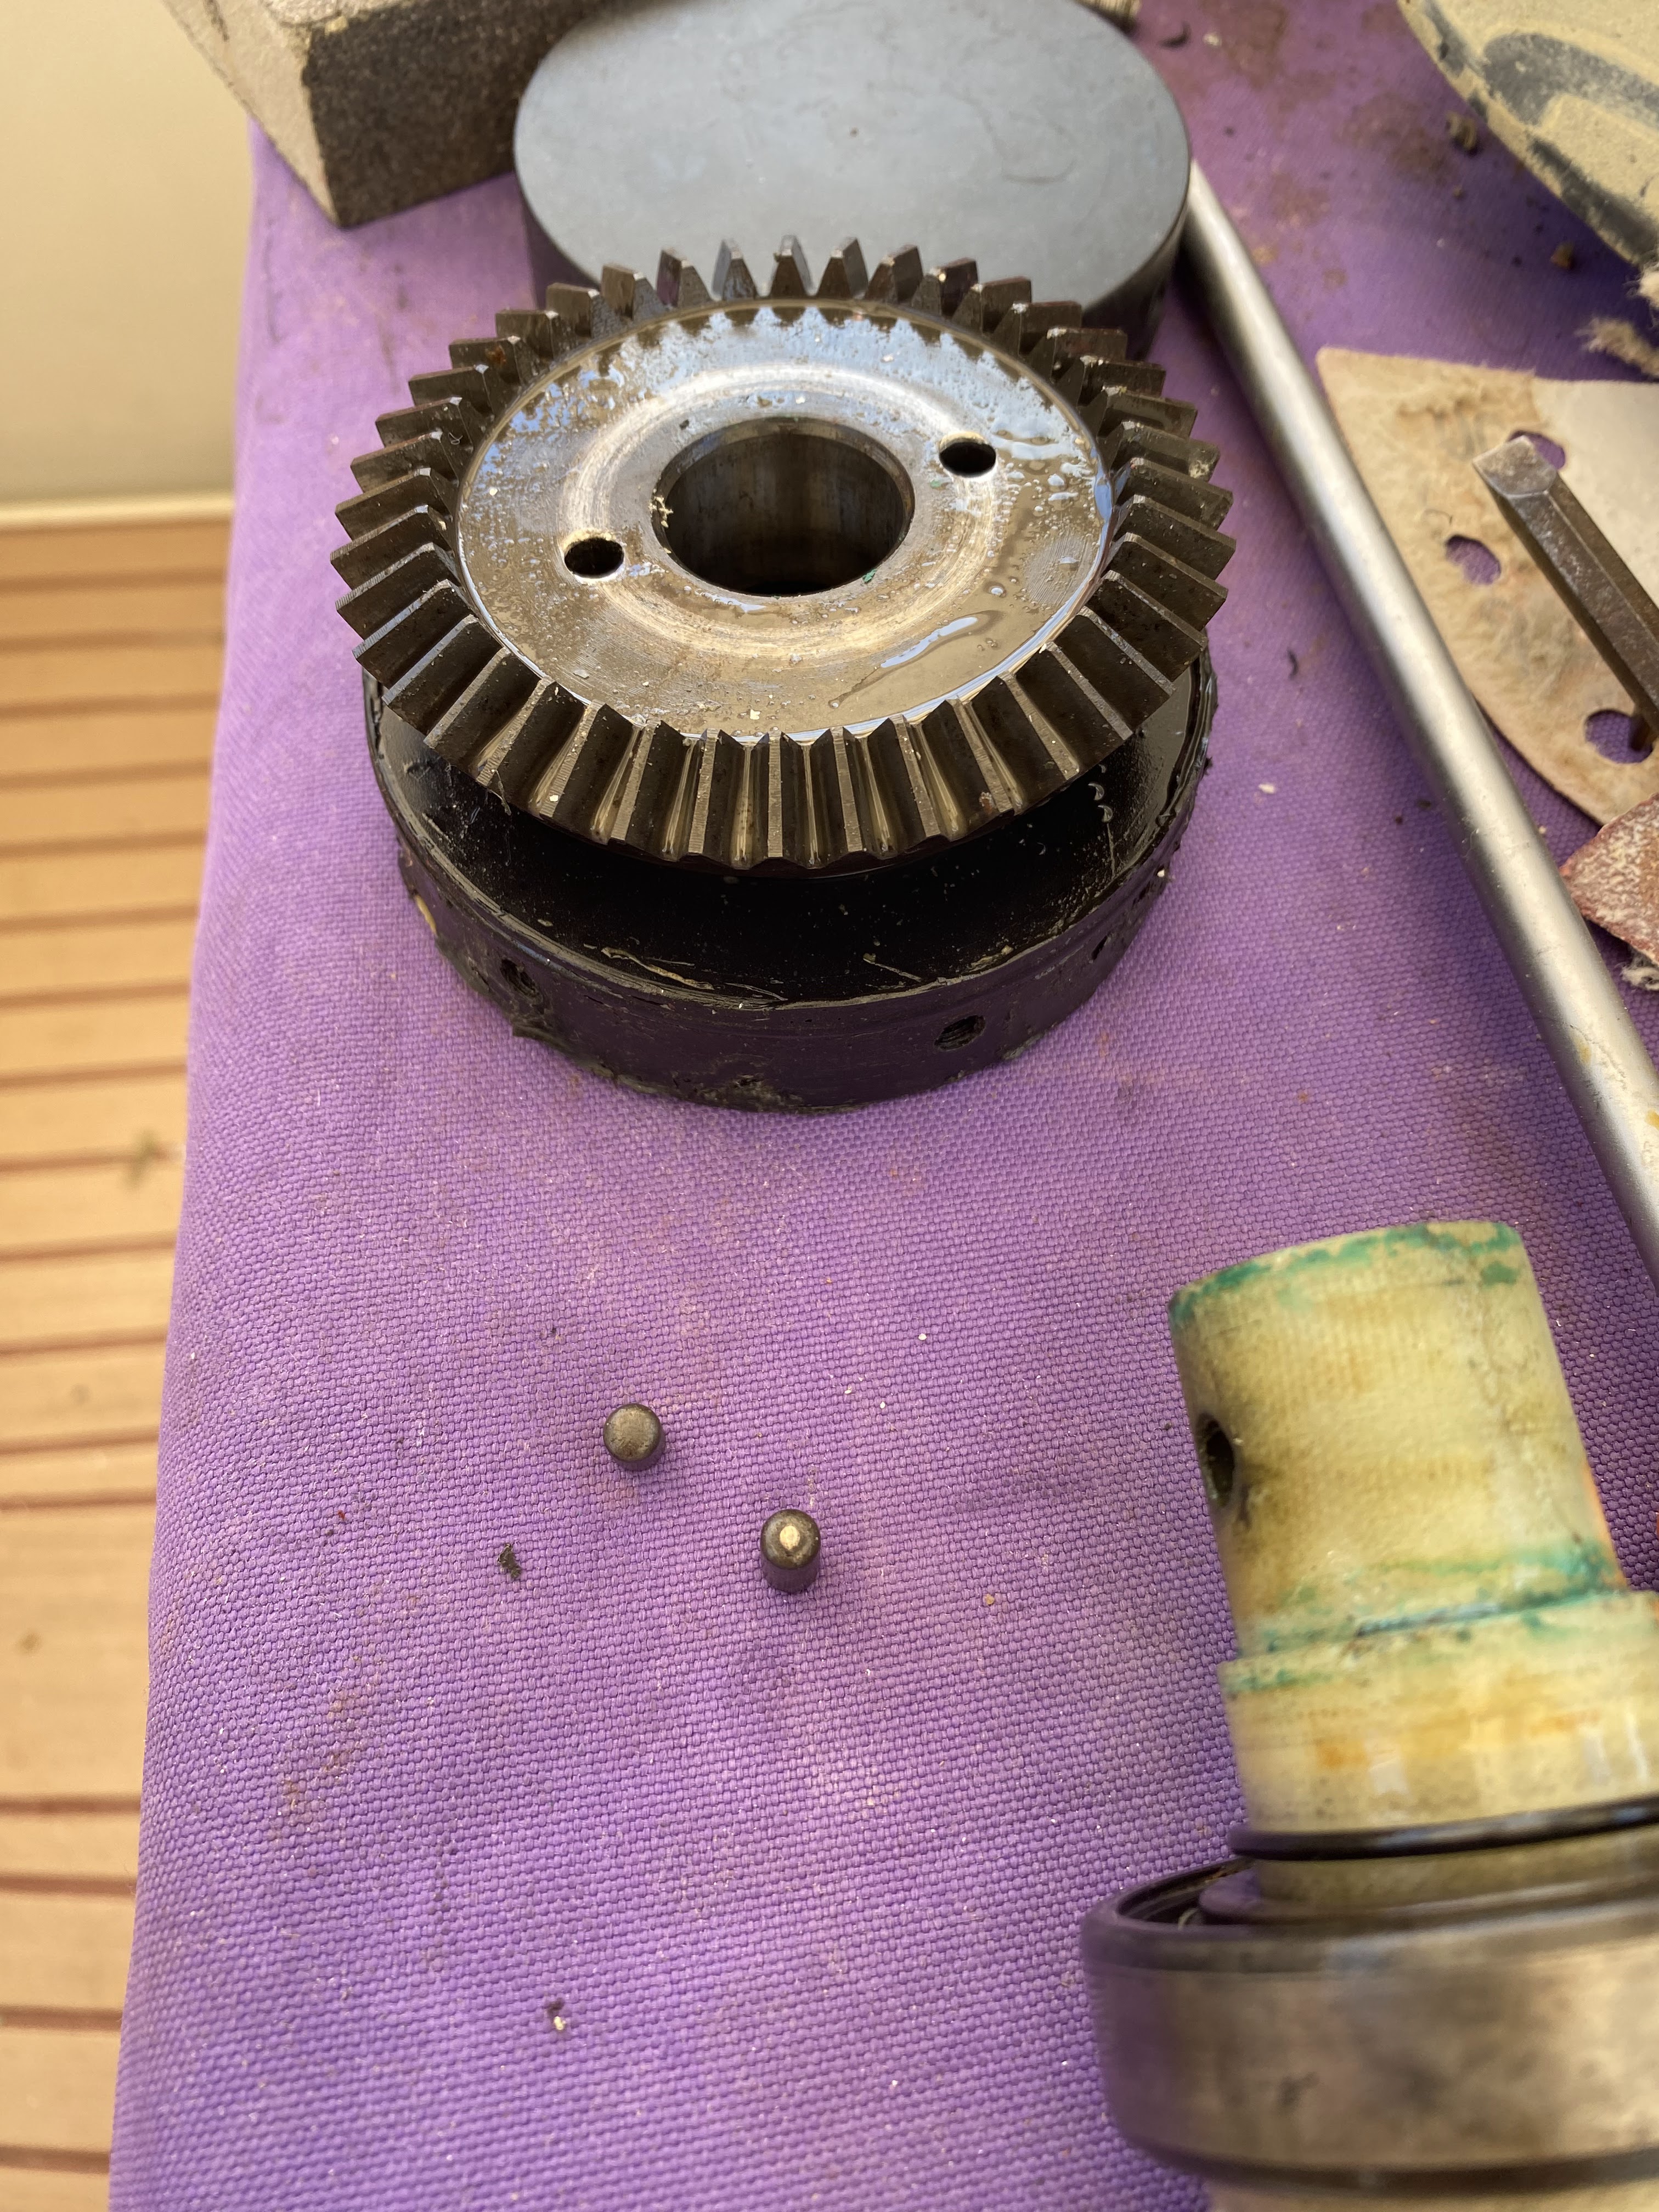
The 2 large pieces above are supposed to be one entire solid piece (connected with the 2 small studs you see) but the studs had sheared through and everything fell apart when it came out of the bow-thruster. This was the problem. Pieces that should be solidly connected were not.
Having the spare parts, I just had to assemble them which was easier than I expected. I had 2 ball-bearing bearings to press onto my new part (I used lubricant and gentle force).

This actually is the old part put together but the new one looked exactly like this.
I changed the outer lip-seal (again easy…I had a seal-removal tool!) and the new part slid perfectly into place. Now I just had to put on the new back-cover and the 4-screws.
This turned into the hardest part. The first screw went in OK, but the other holes were ‘slightly’ off and I needed to keep digging at the part to make the whole bigger so the screw would find the new hole….this took quite some time and I had to make the previous holes in the part even bigger.
But, I have epoxy and filler and was able to repair the holes I made. Here is the part after putting on the thickened epoxy.
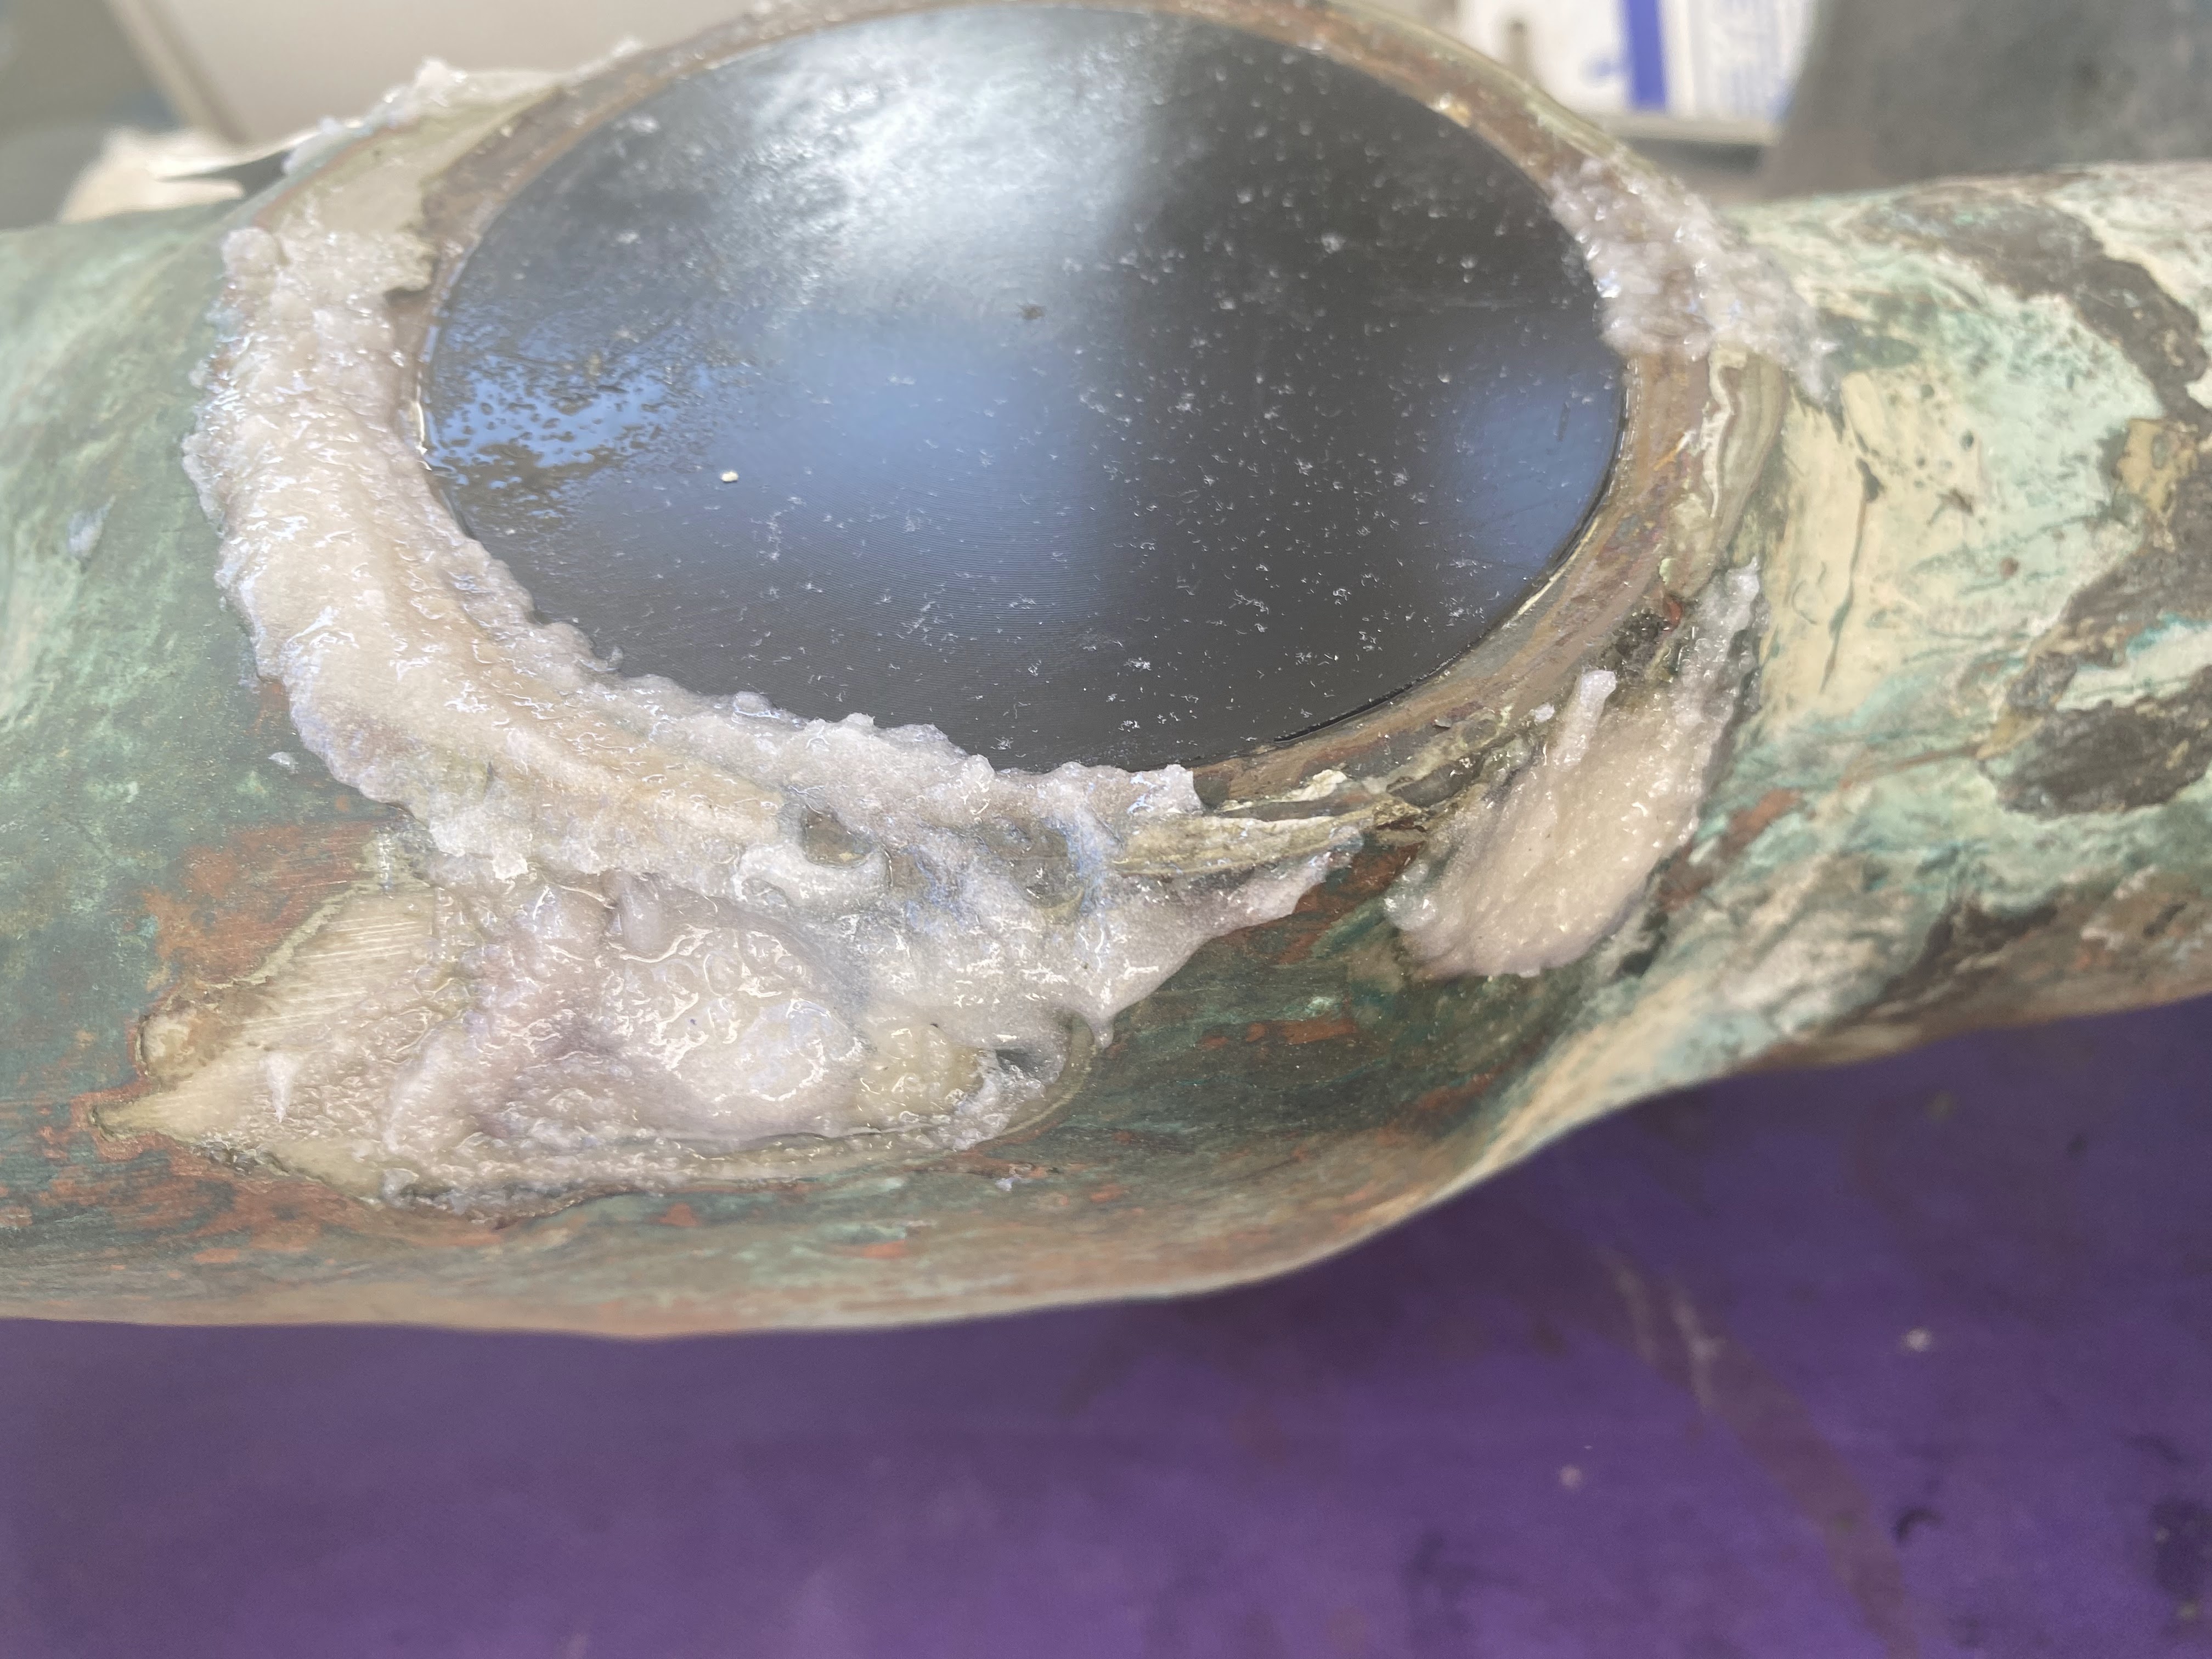
Hasn’t hardened yet….I’ll sand it smooth after it hardens. Now I just have to put anti-fouling paint on the part and better seal the back plate and then put it back!
I will be so happy to have a working bow-thruster again….although not having one for a few months forced me to learn how to control my boat much better. This was definitely one of the harder/scarier repairs I’ve done on the boat. You need to be brave to start cutting into something.

Hi Jeff,
Always enjoy your updates. You’re living the dream!! Keep it going!
If I can get Lisa on board I’d love to meet up with you and Victoria for a “flotilla” cruise somewhere in the Aegean!! (Hopefully I’m not just dreaming, pinch me so I can make this happen :))
FYI – my current email address is chris.rogers11@gmail.com
Take care Chris
>
LikeLike
Hey Chris, Thanks so much! Will send you an email. Jeff
LikeLike